Migrating my blog from Wyam to Statiq

The initial steps to setup a new blog with Statiq or migrate from Wyam are covered in porting from Wyam document in the CleanBlog repo. There are additional points raised in the GitHub discussions on the StatiqDev Discussions repo most specifically in the Migration from Wyam discussion. I had customized my blog slightly while using Wyam so there was some additional work to do. ## Bringing back the triangles
Several javascript libraries have been removed from the CleanBlog theme, some of which were used to generate dynamic triangles for the header background when an image is not used. I started the discussion Javascript changes between Wyam and Statiq CleanBlog (or where have my triangles gone? 😊 ) and reintroduced the necessary libraries to bring back the triangles. ## Font Awesome Updates
The move from FontAwesome 4 to 5 means that many icons stopped working, this is due to brand icons moving to a new prefix, so I had to change fa to fab in a number of places, where fa still works it appears better to change those to fas based on FontAwesome's own upgrading from version 4 guide ## Fix styles on custom navbar entries
I added a dropdown to my navbar, which has lost its style after the upgrade, this appears to be a bootstrap 3 to upgrade issue. ## Publishing to Netlify
Install the Netlify CLI npm install netlify-cli -g ## Exclude NetlifyCMS directory from processing and copy it to output
I have been managing my Wyam blog with NetlifyCMS, this is simply a directory called admin with 2 files, index.html and config.yml. Wyam copied those files unchanged to the output. With Statiq that has changed and it processes the html file which makes it invalid, skips the config.yml file and adds a link to admin to the NavBar. Adding a file called _directory.yml to the admin directory makes it possible to set directory wide meta data, ShowInNavBar: False removes the admin link from the NavBar, setting the ContentType and MediaType, as discussed on the StatiqDev GitHub discussion Migration from Wyam, resulted in the desired behaviour yaml ShowInNavBar: False ContentType: Asset MediaType: textplain ## Update _post-footer.cshtml to set the Disqus configuration variables ``` csharp /* * * CONFIGURATION VARIABLES: EDIT BEFORE PASTING INTO YOUR WEBPAGE * * */ var disqus_identifier = '@Document.Destination.FileNameWithoutExtension.FullPath'; var disqus_title = '@Document.GetString("Title")'; var disqus_url = '@Document.GetLink(true)';
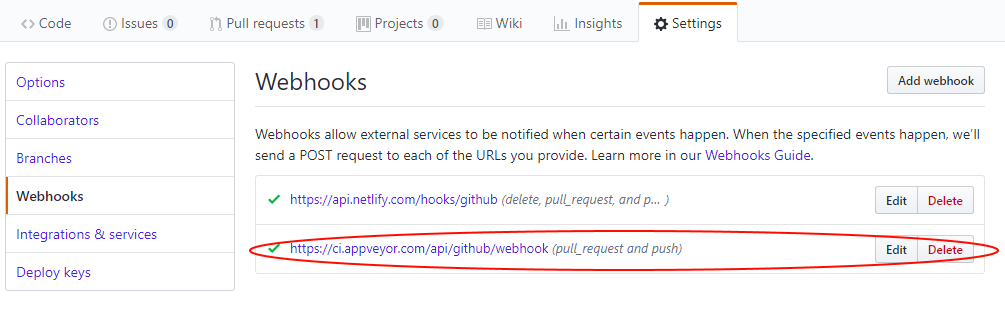 If this is not done AppVeyor will run the master branch config when a draft is saved in NetlifyCMS as a PR is created, it will fail with

 ## Make it easy for user to complete signup by adding Netlify Identity Widget to the site
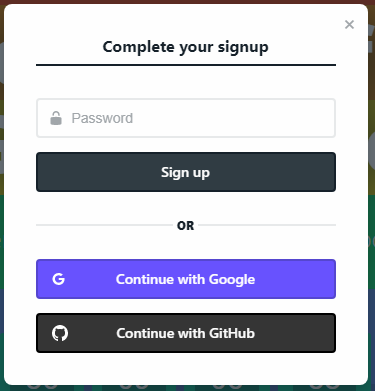
 :::
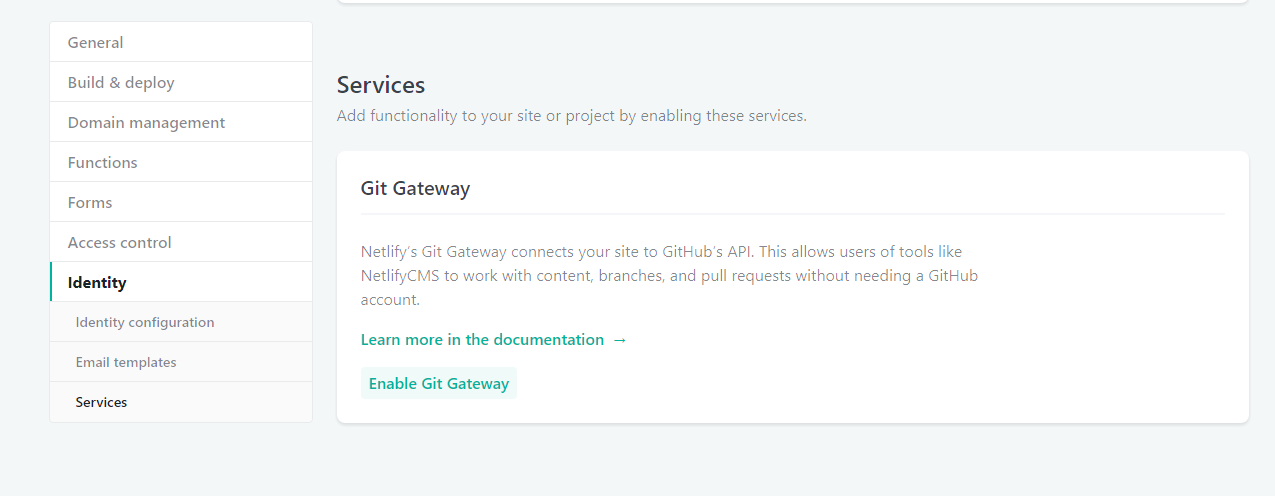
:::::: ## Setup your blog on Netlify
The Wyam website already has a guide on
:::
:::::: ## Setup your blog on Netlify
The Wyam website already has a guide on 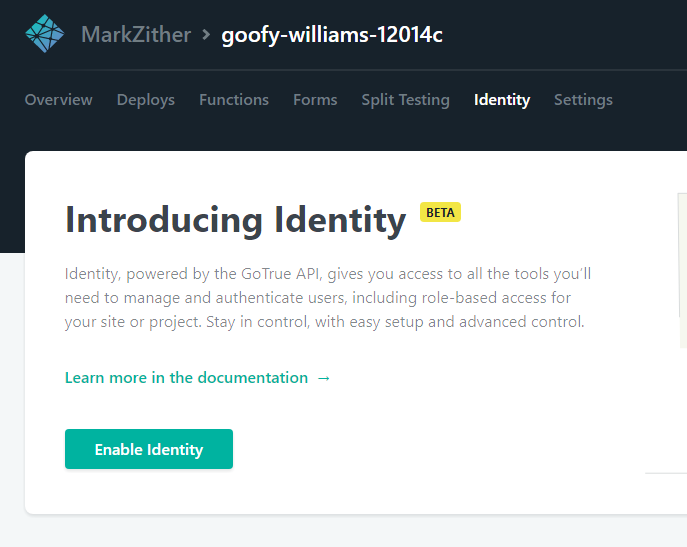 ### Set registration preference and external providers
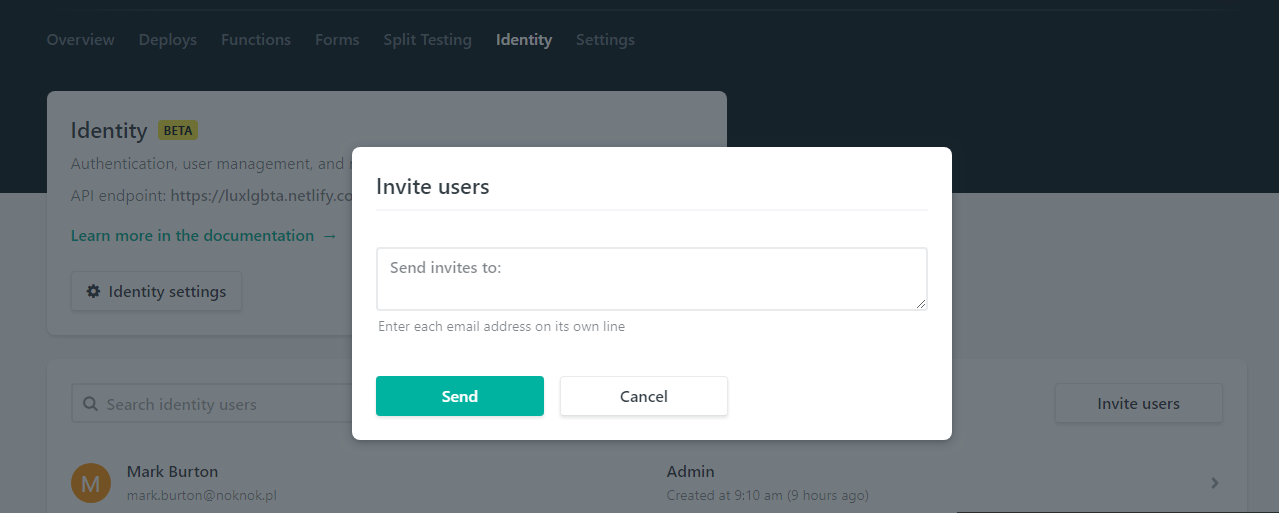
Registration settings and External providers are in settings under Identity.
### Set registration preference and external providers
Registration settings and External providers are in settings under Identity. 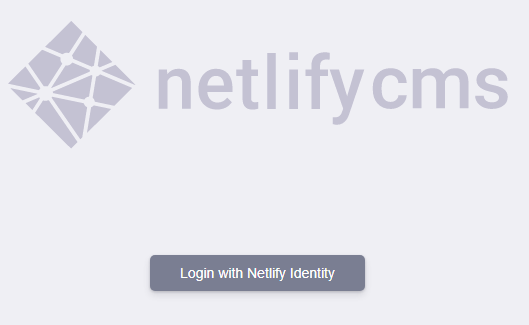 :::
:::::: ::::::row
::: Click Login with Netlify and login with your GitHub account, you might be redirected here to your site on Netlify, just correct the first part of the URL to
:::
:::::: ::::::row
::: Click Login with Netlify and login with your GitHub account, you might be redirected here to your site on Netlify, just correct the first part of the URL to 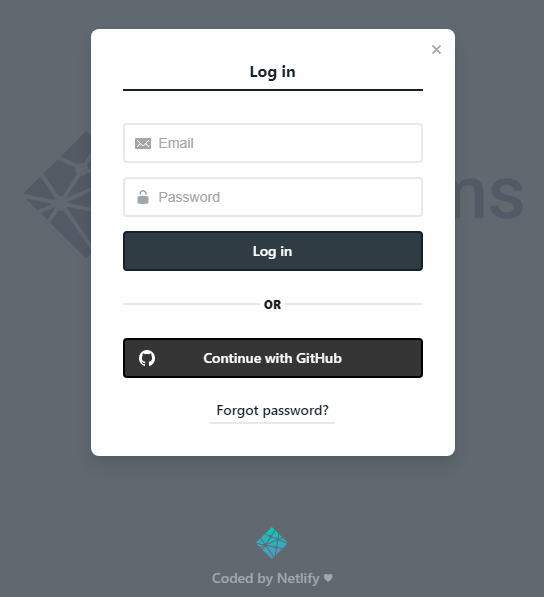 :::
:::::: Finally we have NetlifyCMS in all its glory
:::
:::::: Finally we have NetlifyCMS in all its glory  Create a new post and publish it
 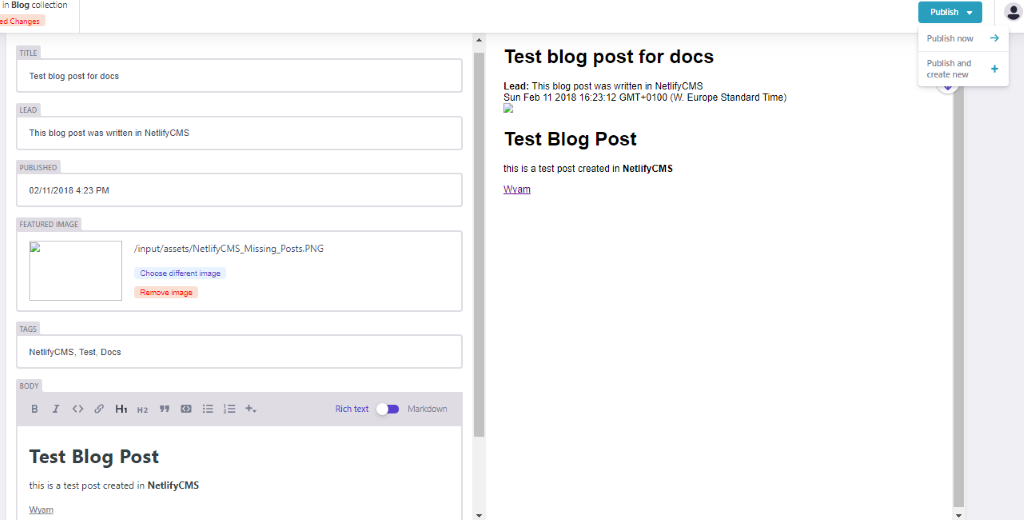 ## NetlifyCMS successfully publishing to GitHub
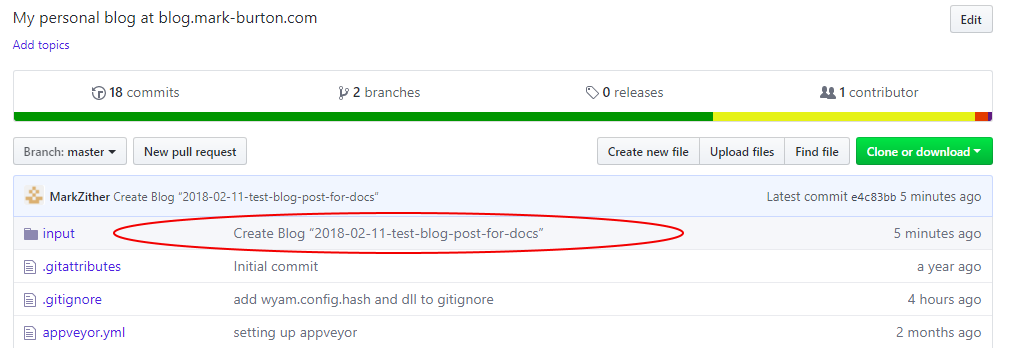 :::
::: and the markdown as rendered in GitHub
:::
::: and the markdown as rendered in GitHub 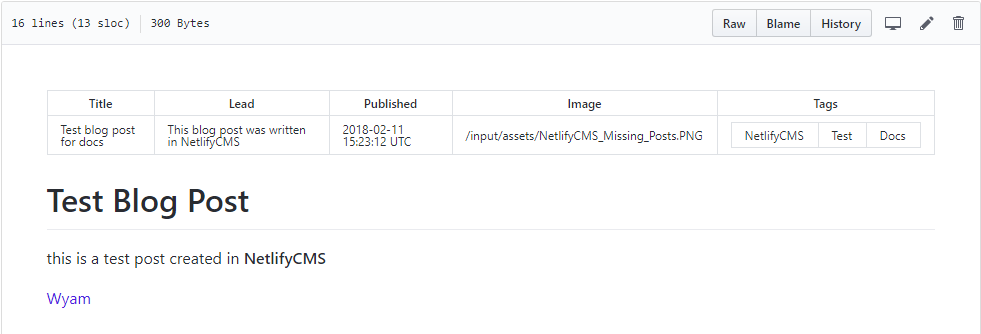 :::
:::::: This is all well and good, but you could have done that in VS Code or similar, in Parts 2 and 3 I will describe how I configured AppVeyor and Netlify to support continuous deployment, the editorial workflow and adding the Netlify Identity widget to my blog to make this a fully functioning CMS. ## Errors and issues I encountered while setting this up
:::
:::::: This is all well and good, but you could have done that in VS Code or similar, in Parts 2 and 3 I will describe how I configured AppVeyor and Netlify to support continuous deployment, the editorial workflow and adding the Netlify Identity widget to my blog to make this a fully functioning CMS. ## Errors and issues I encountered while setting this up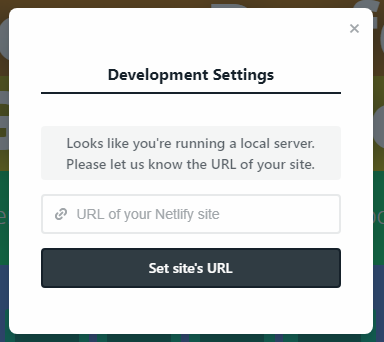 :::
:::::: ### Front Matter syntax
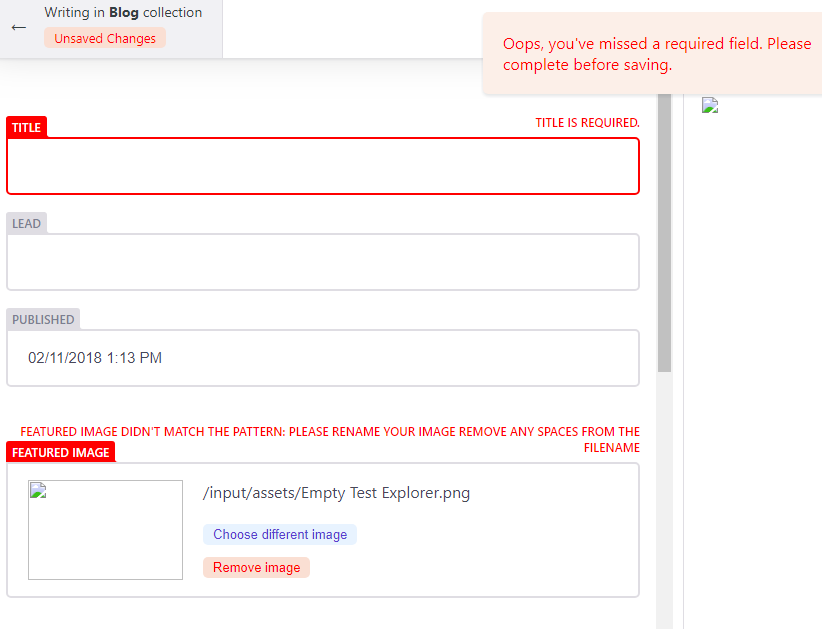
Initially i found that none of my existing posts were displaying any details at all in the CMS, it just showed up as a blank line,
:::
:::::: ### Front Matter syntax
Initially i found that none of my existing posts were displaying any details at all in the CMS, it just showed up as a blank line, 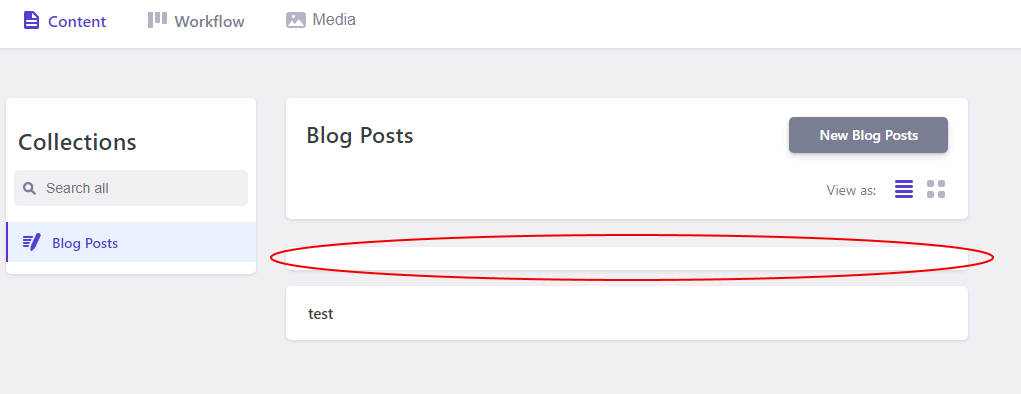 you can click on the blank line and it will open a blank editor window
 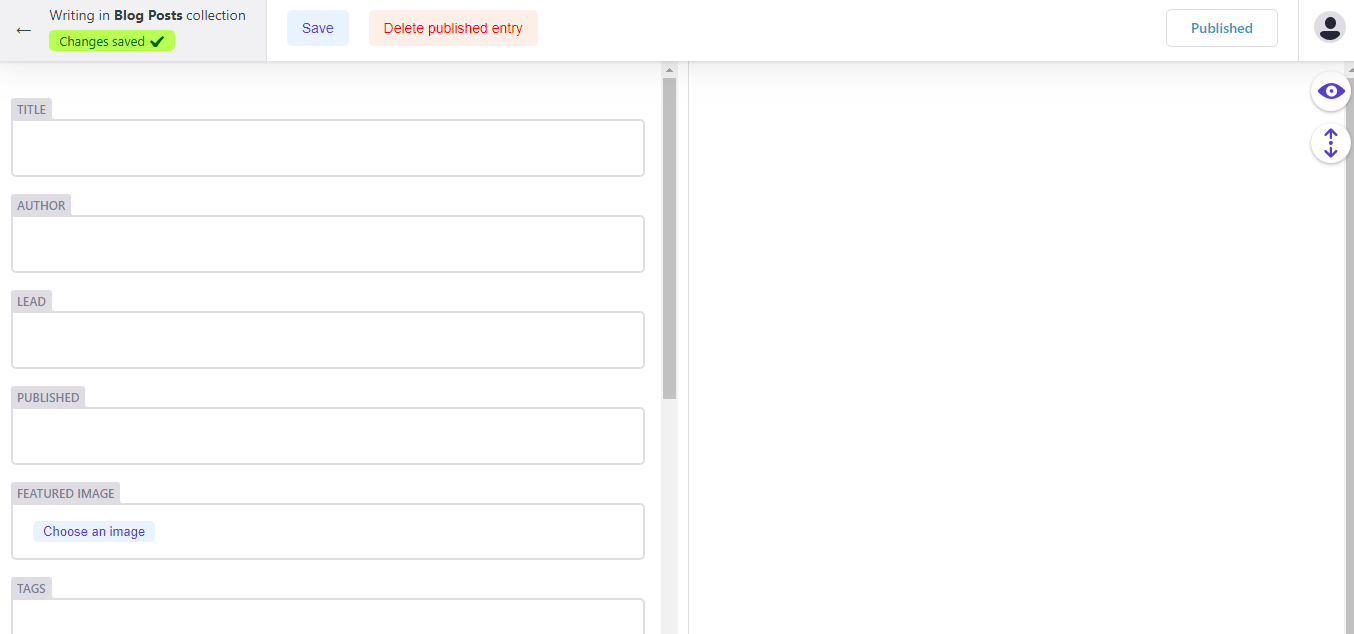 .
Any new posts created by the CMS did display correctly. The only difference i found between the existing posts and those created in NetlifyCMS was the leading
.
Any new posts created by the CMS did display correctly. The only difference i found between the existing posts and those created in NetlifyCMS was the leading